How to Clean & Maintain Your Firearm
# How to Clean & Maintain Your Firearm: A Complete 2026 Guide
Published: September 4, 2026
Why It Matters
A clean firearm is a reliable firearm. Whether you’re a competitive shooter, a hunter, or a home-defense owner, proper maintenance keeps your weapon functioning when it matters most. It also extends the life of your investment by decades.
This guide covers the process I use personally after every range session, based on manufacturer recommendations and professional armorer training. It applies to centerfire rifles, pistols, and shotguns.
What You Need
| Tool | Purpose |
|---|---|
| Bore brush (cotton or nylon) | Swabs the bore; cotton for initial solvent, nylon for polish |
| Jags (assorted sizes) | Attaches patches or patches + solvent to the brush |
| Bore solvent | Dissolves copper, lead, and powder fouling (e.g., Hopelites, Bore Tech EBB, Shooter’s Choice) |
| Gun oil / lubricant | Protects metal, reduces friction (Rem Oil, Ballistol, CLP) |
| Patches (cotton or synthetic) | For final polish and oil application |
| Disassembly tools | Takedown pins, screwdrivers specific to your platform |
| Work light | Reveals fouling in chambers, gas systems, and trigger groups |
| Nitrile gloves | Protects skin from solvents and lead residue |
| Eyewear | Prevents solvent splashes |
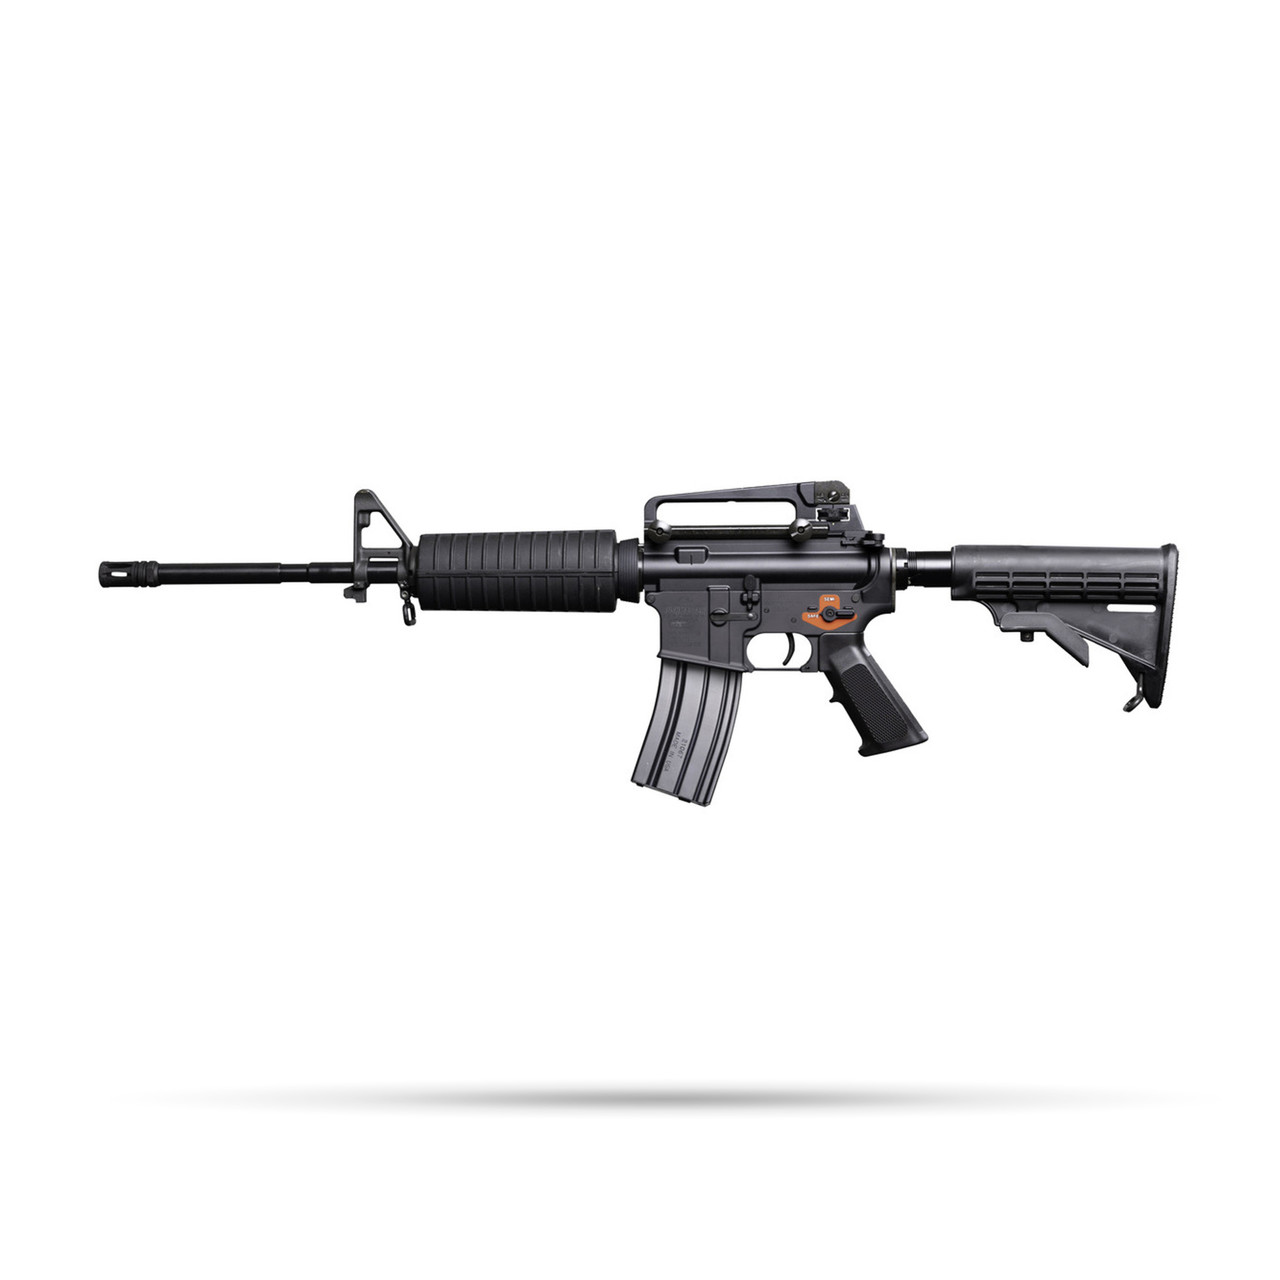
Step-by-Step: Centerfire Rifle (AR-15 Example)
1. Safety Check
Remove the magazine. Pull the trigger with the chamber empty. Visually and physically confirm the chamber is clear. Never clean a loaded firearm.
2. Field Strip
- Remove the upper receiver from the lower.
- Pull the charging handle forward and remove the barrel nut assembly if applicable.
- Extract the barrel, gas tube, gas block, and chamber.
- Remove the bolt carrier group (BCG) from the upper.
- Pull the bolt from the BCG.
3. Clean the Barrel
- Apply bore solvent to a patch on a jag. Run it through the bore from the chamber end to the muzzle (prevents forcing fouling into the chamber).
- Let it soak for 5–10 minutes.
- Use a bore brush with solvent to agitate the fouling. 20–30 strokes.
- Follow with dry patches until they come out clean (typically 3–5 patches).
- Finish with a lightly oiled patch to protect the bore.
4. Clean the BCG
- Wipe the bolt face with a solvent-damp patch. Use a brass brush for the chamber’s interior if heavily fouled.
- Clean the gas key slot and gas ring grooves.
- Wipe the BCG exterior and the recoil spring/plunger assembly.
5. Clean the Lower
- Wipe the trigger group, sears, and hammer with a dry or lightly solvent-dampened patch.
- Remove carbon buildup from the trigger channel with a small brush.
- Lightly oil the trigger pins and hammer pivot.
6. Reassemble & Function Check
- Reassemble in reverse order.
- Dry-fire the trigger 5–10 times to confirm smooth operation.
- Inspect for any remaining fouling under the work light.
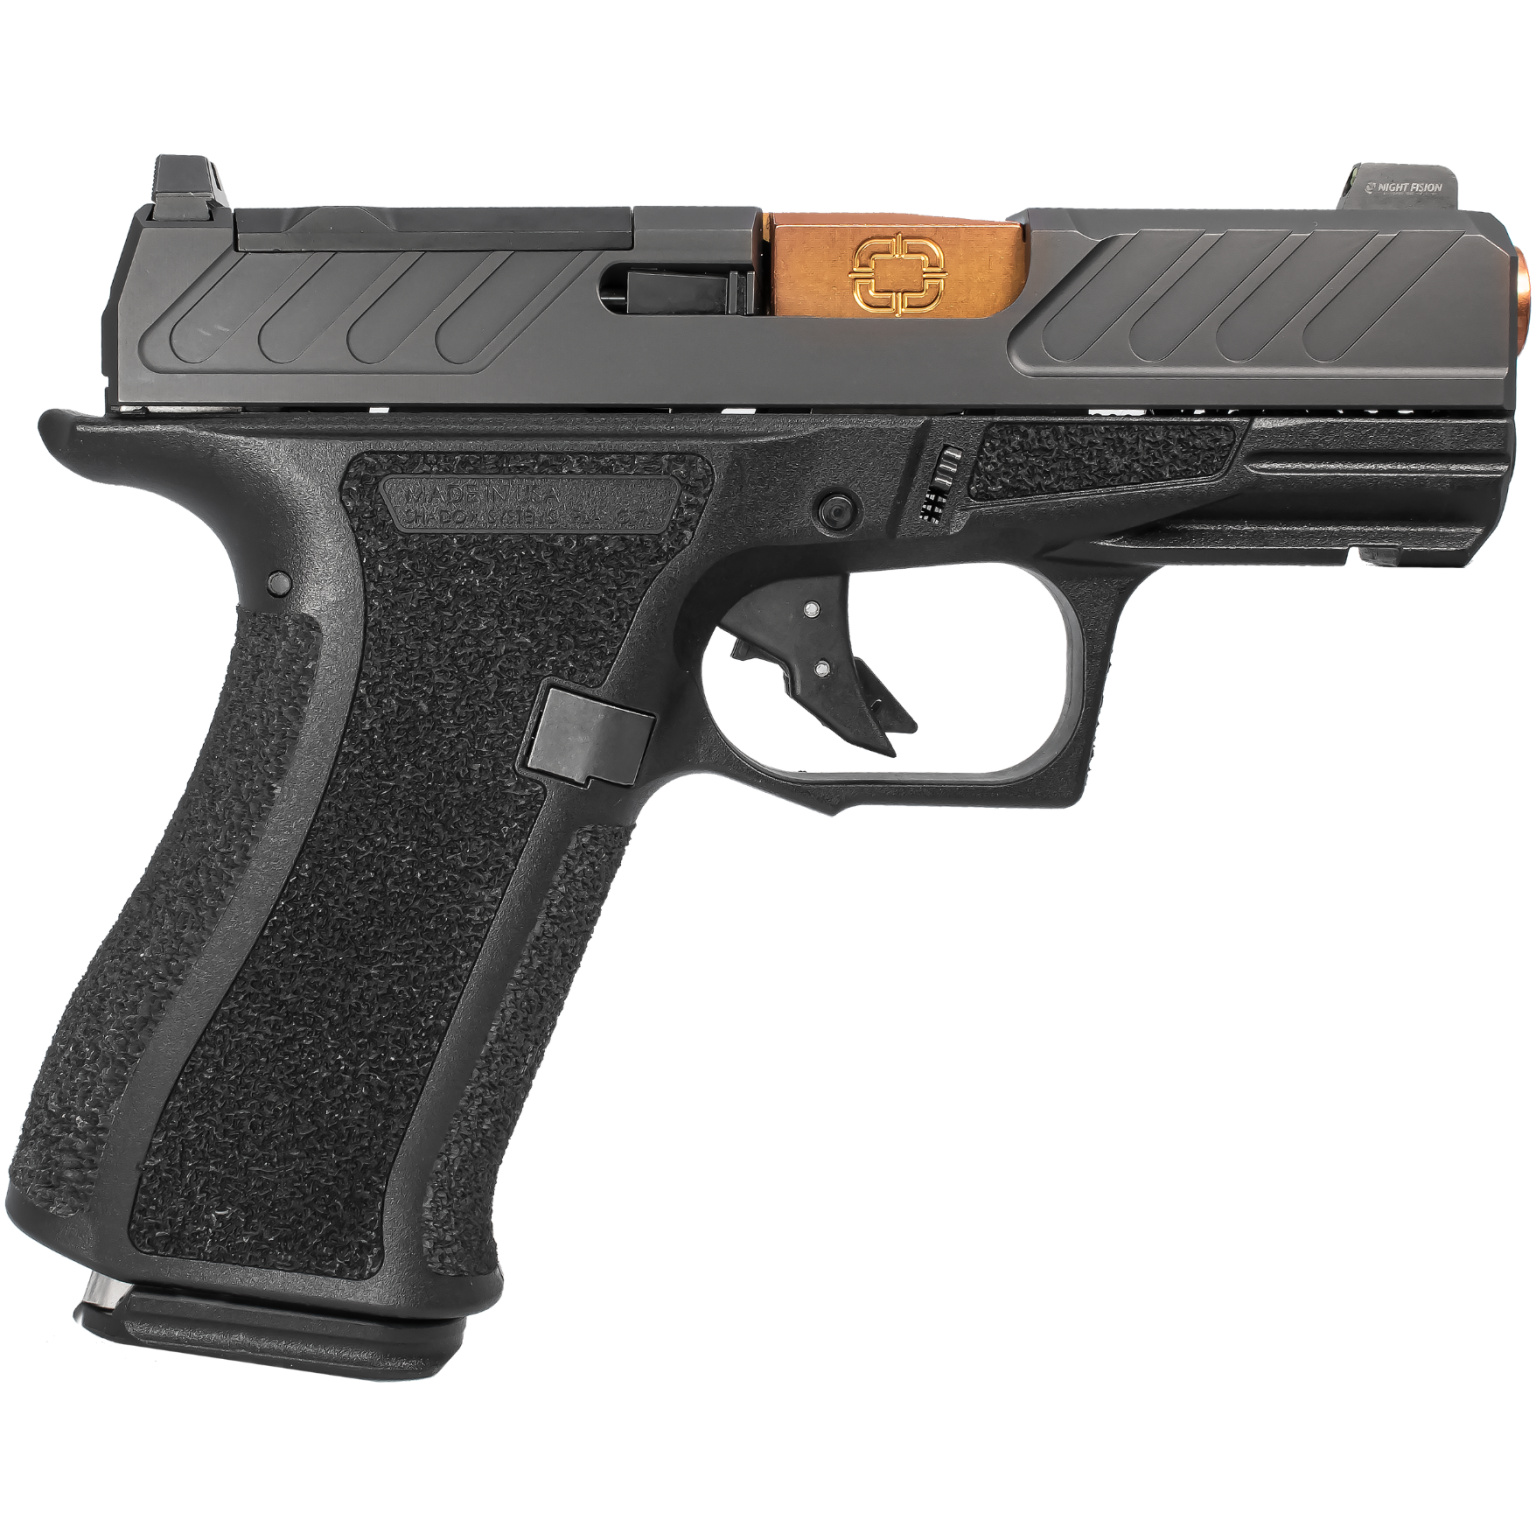
Step-by-Step: Pistol (9mm Example)
1. Field Strip
- Remove the magazine. Lock the slide back and remove the barrel/bushing assembly.
- Pull the slide off the frame.
- Remove the recoil spring and guide rod.
2. Clean the Slide & Barrel
- Wipe the slide exterior and interior with a solvent patch.
- Run a solvent patch through the bore (muzzle to chamber).
- Use a small brush for the chamber and feed ramp.
- Finish with a dry patch, then a lightly oiled patch.
3. Clean the Frame
- Wipe the trigger group, sear, and hammer area.
- Clean the magazine well.
- Lightly oil the slide rails and the area where the slide rides.
4. Reassemble & Function Check
- Reassemble, dry-fire 5–10 times, confirm the trigger resets properly.
Step-by-Step: Shotgun (12-Gauge Pump or Semi-Auto)
1. Field Strip
- Remove the barrel from the receiver (pump: remove the forend; semi-auto: remove the barrel extension and gas piston).
- Extract the bolt/breech block.
2. Clean the Barrel
- Same process as the rifle: solvent-soaked patch, brush, dry patches, oiled patch.
- For semi-autos, clean the gas piston and gas rings separately with a small brush.
3. Clean the Action
- Wipe the bolt face, chamber, and feed area.
- Clean the trigger group lightly.
4. Reassemble & Function Check
- Reassemble and perform a basic function check.
How Often Should You Clean?
| Usage | Frequency |
|---|---|
| Competitive / target shooting | After every session |
| Range shooting (100+ rounds) | Every session or every 200 rounds |
| Hunting | After every hunt (weather + humidity) |
| Home defense / storage | Every 3–6 months (light oil, no full strip) |
| Long-term storage (1+ year) | Full clean, apply rust inhibitor (e.g., Boeshield T-9), wrap in oilcloth |
Rule of thumb: If you see fouling, clean it. If you’re storing a gun for more than a month, give it a light oil before it goes in the safe.
Common Mistakes to Avoid
- Over-oiling. Excess oil attracts dust and can cause trigger malfunctions. A light film is enough.
- Using the wrong solvent. Some solvents are too aggressive for chrome-lined barrels or blued finishes. Check manufacturer recommendations.
- Skipping the BCG or trigger group. These areas accumulate carbon that causes malfunctions over time.
- Cleaning while loaded. Always confirm the chamber is empty.
- Using steel wool or abrasive brushes on blued finishes. Use cotton patches and soft nylon brushes.
- Neglecting the gas system (semi-autos). Gas port and gas ring fouling is the #1 cause of semi-auto malfunctions.
Storage Tips
- Store firearms in a cool, dry place (humidity < 50% ideal).
- Use a dehumidifier or silica gel packets in the safe.
- Apply a thin coat of oil to all exposed metal before long-term storage.
- For antique or collectible firearms, avoid over-oiling and use a museum-grade preservative.
Bottom Line
Proper firearm maintenance is not optional — it’s the difference between a reliable tool and an expensive paperweight. Ten minutes after a range session saves hours at the armorer’s bench. Your future self will thank you.
What’s your cleaning routine? Do you clean after every session or batch it? Share your setup in the comments.
Related Reading
- Best AR-15 Rifles 2026: Tier List
- Defensive Gun Use: Home Defense Data & Tips
- Bevis Case: Semiautomatic Rifle Ban Deep Dive